Tools Required
- Cleaning Agent
- Pencil (to mark location of BTS on surface)
- Lint Free Cloth (for easier application)
- Masking Tape (for hinge)
- Ruler / Tape Measure
Surface Preparation
Before applying your BTS to any surface, the area must be cleaned using an appropriate degreaser. Do Not use any oil-based solvents, as this will affect the adhesion of the sign to the surface.
Please Note: Once Adhesive has made contact with the surface it will not be able to be removed.
Location Requirements
National Construction Code 2022 - Volume One
Building Code of Australia Class 2 to 9 Buildings
Section D Access and Egress
Specification 15 Braille and Tactile Signs - S15C2
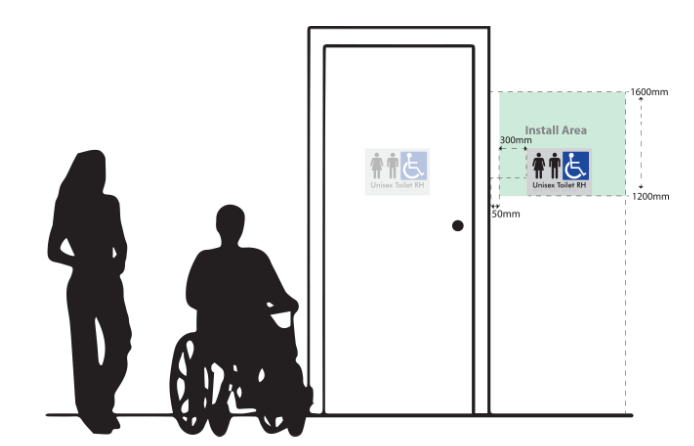
This clause provides requirements for the location of Braille and Tactile Signs. The correct placement of braille and tactile signs is important in ensuring that they are able to be used. S15C2 describes where required signs are to be located accounting for the range of a person’s reach and sight lines. Where possible, signs are not to be placed on doors, to avoid the hazard of a door being opened onto a person attempting to read the sign. Signs including symbols, numbering and lettering must be designed and installed as follows:
Install 1 - Full Backing of Adhesive
Step 1
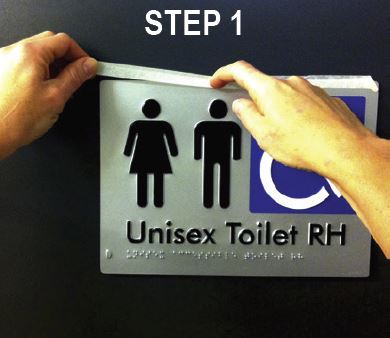
Apply a strip of masking tape along your chosen edge, run your nail along the edge to create a hinge.
(In this example we have chosen to use the top edge of the sign)
Step 2
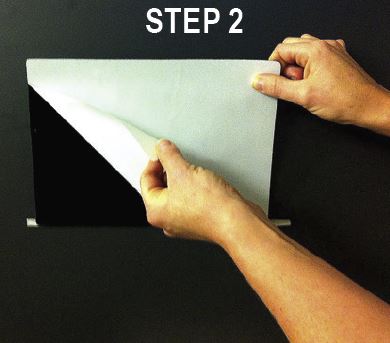
Using your masking tape as a hinge, flip sign over and peel backing paper off the adhesive.
Please Note: Once the adhesive makes contact with the surface, the Sign will be adhered and there won’t be any way to get it off, so please measure carefully.
Step 3
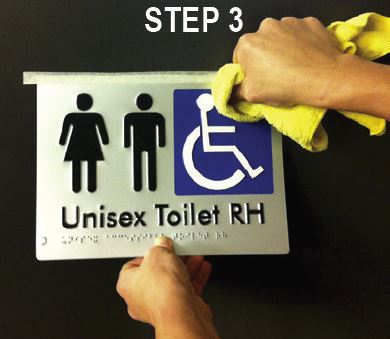
Wrap a lint free cloth around your thumb or fingers.
Holding the opposite edge of the sign away from the surface, slowly begin working your way from side to side across the surface, (starting from the hinge edge) applying firm pressure with the cloth.
Slightly overlap each stroke, making sure no air gets between the sign and the surface.
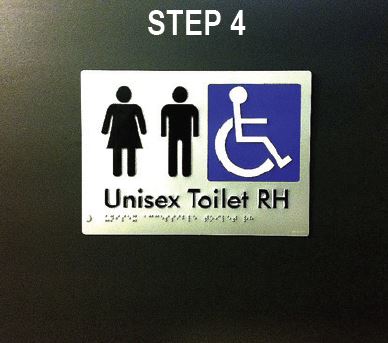
Step 4
Remove any masking tape or markings and clean the sign.
You’re Done!
Tabs of Adhesive Tape
Step 1
Lightly mark on the surface the position of your BTS as per NCC S15C2 instructions.
Step 2
Remove backing paper off adhesive tabs and add an appropriate amount of adhesive (eg. liquid nails or silicone) to the back of the sign. Ensure you do not use too much glue, as it will ooze out from behind the sign.
Step 3
Using your marking reference, position your BTS on the surface and apply pressure to allow tape to make contact with the surface as well as spreading the adhesive. The tabs of adhesive tape will hold the sign in place until your chosen adhesive cures.
Step 4
If signs are not provided with adhesive, please ensure that appropriate adhesives are used and follow above recommended directions.
No Adhesive Tape Provided
Step 1
If signs are not provided with an adhesive, please ensure that appropriate adhesives are used and follow recommended directions.

 Site under construction

