Step 1:
Thoroughly clean the surface where the tiles are to be installed to, and blow away any dust. Fill in any expansion joints or cracks with a good quality Construction Polyurethane eg: Bostik Sealand Flex or Silaflex. Grind down any dirty, Rough orHigh areas. Mask the area of application to stop the PRIMER marking or staining the untiled substrate.
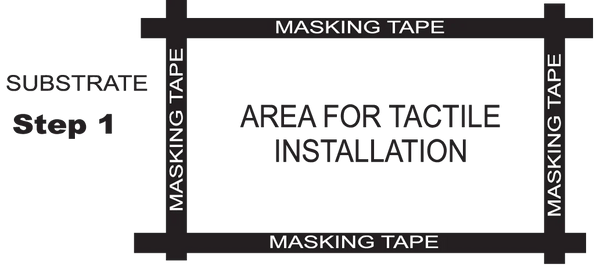
Step 2:
Place a small hole in the end of the Primer sausage. Apply a small amount of primer to the area and spreadout VERY thin using supplied applicator. NOTE: FORTIS Ad512 is to be used as PRIMER - IMPORTANT! - AFTER THE PRIMER APPLICATION leave for 10 minutesfor the primer to expand, scrape off any excess.REMOVE AS MUCH PRIMER FROM THE SURFACE AS POSSIBLE. The primer is foaming type UROTHANE and will expand incontact with the atmosphere. Only a very small skim coat isneeded plus enough to fill dips in uneven surface. eg: bitchumen. IMPORTANT: Always read INSTRUCTIONS and WARNINGS on product packages.
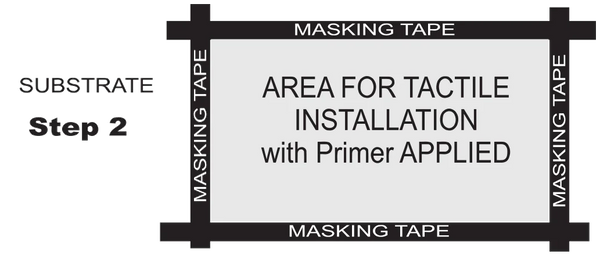
Step 3:
Peel the backing off the first tile while the primeris still wet and place tile in position. Press down over the whole tile to ensure acomplete bond with the primer.
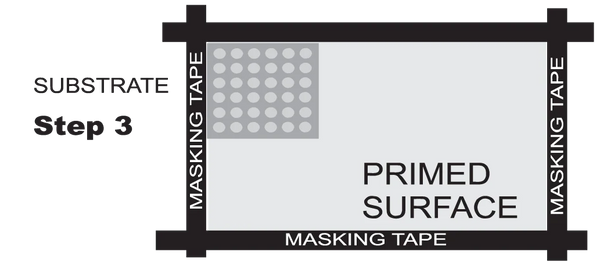
Step 4:
Peel the backing off the next tile and place it in position leaving minimum 2mm expansion gap between each tile. Continue this method until the pad is complete. TIP: Using the Applicator as a gap gage can he useful.
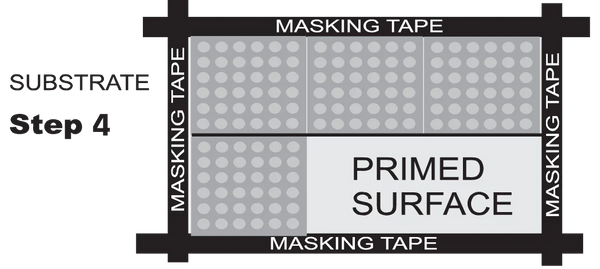
Step 5:
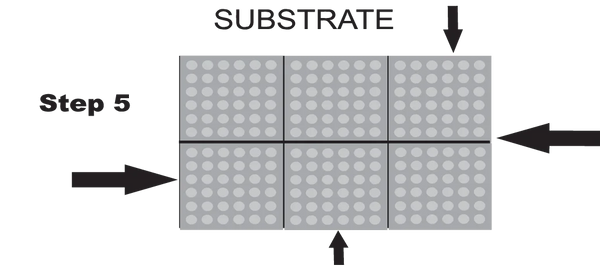
Remove themasking tape. Use the rubber mallet (or similar) hammer down each dot or strip and all edges of EVERY tile. Use a flat piece of timber if necessary. Pay careful attention to edges and corners of the tiles. Scrape ANY excess primer from the edges and expansions gaps of the tiles.
Step 6:
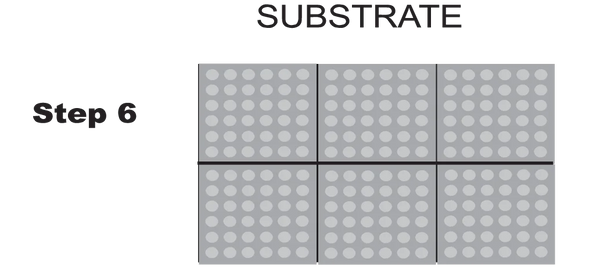
After ½ - 1 hour again use the rubbermallet and hammer down every dot or strip and all edges & corners of EVERY tile, usea flat piece of timber if necessary. OPTIONAL: Seal the edge of the pad using a good quality Construction Polyurethane like Bostik Seal & Flex a small 5mm bead against the edge of the tile and the substrate.
IMPORTANT NOTES
- The above example is based on a 900mmW x 600mmH area.
- ALL SURFACES must be CLEAN and DRY and MUST be cured for al least 21 days.
- Damp or moist surfaces can be dried with a commercial blowtorch / Gas bottle - If wet, leave installation for a few days to dry.
- Extremely rough or uneven surfaces MUST be ground flat or use the colourbondinstallation method for installation to lose pavers or timber decking with large gaps.
- ALL expansion joints , crack etc to the substrate MUST befilled with a good quality polyurethane sealant / adhesive.
- CONCRETE INDOOR: Direct stick the tile to the substrate or use primer. Clean application area with Methylated Spirits and rag before application VINYL, LINO, TILES,
- TERRAZZO: Direct stick if surface if polished or very smooth (no primer needed). Clean application area with Methylated Spirits and rag before application.
- BITUMEN NEW: Allow 21 days curing time before installation. Clean application area with Methylated Spirits or Prepsol and rag before applicationto remove any oils.
- CARPET: If installing into carpeted, cut out tile area accordingly and ensure underlay is removed. Build up height if necessary with material such as an MDF panel. Finish in carpet cut out edges in Aluminium edging for a neat and tidy finish.
 Site Under Construction

